5 Tips to Capture More Creative Portraits
Photography Basics
Five portrait photography tips from a sunset shoot with my friend Kelsey in Bali, to help you plan, light and shoot more creative portraits that actually tell a story.
·
5 min read

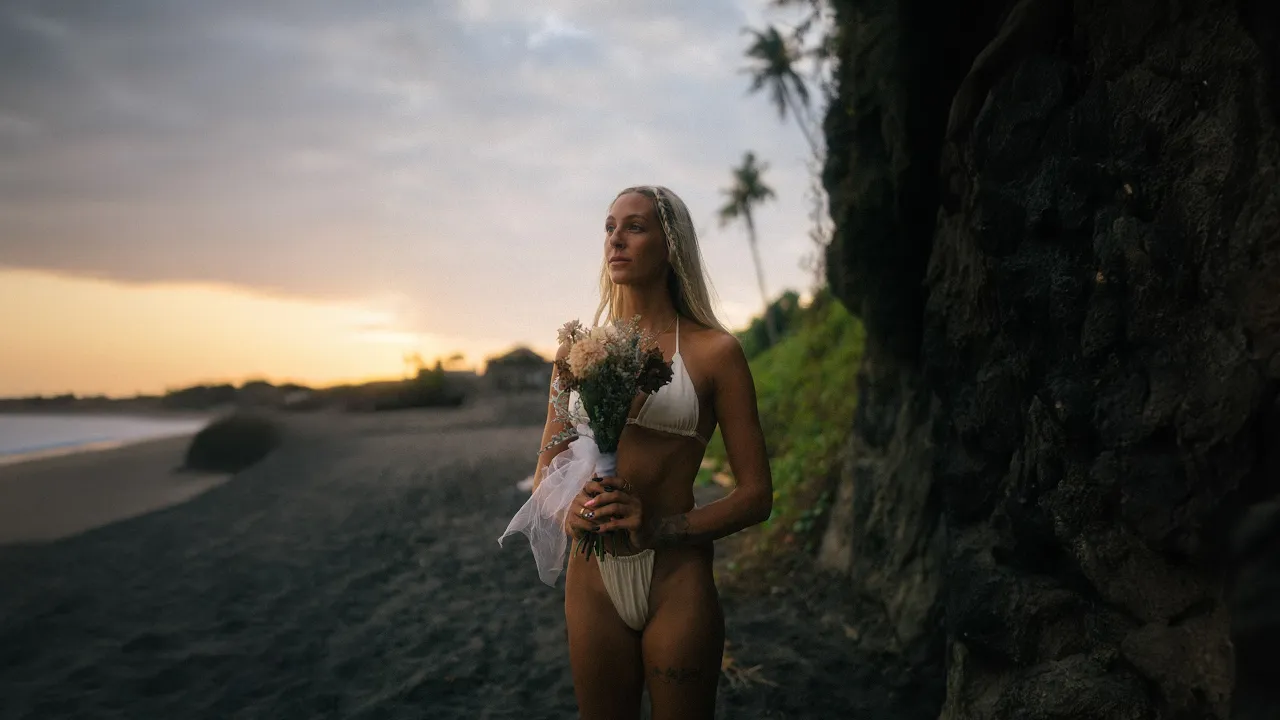
For this one, I headed to one of my favorite locations in Bali for shooting portraits with my best friend, roommate and basically sister by this point, Kelsey. We had about an hour and a half until sunset and some really cool ideas to shoot.
So in this post, I'm sharing five key tips for capturing more creative portraits, with the photos from that shoot. Let's go!
READ OR WATCH: This blog post is also available in video form! If you'd rather watch me explain this content, simply watch the video below. Otherwise you can find the text guide below. Just keep scrolling!
In How to Capture More Creative Portraits, you can follow along with the whole shoot from start to blue hour.
5 creative portrait photography tips
1. Do your homework before the shoot
A lot of photographers think they can just rock up to a beautiful location with a beautiful model and capture some cool photos. Sure, you probably will. But if you want more unique photos that really tell a story, sit down and plan the shoot.
Kelsey and I took the time to talk about the vibe and the story we wanted these photos to tell. We went for a classic, nostalgic film vibe: just an afternoon on the beach, with an emphasis on warm tones that look a little like film. Once we settled on that story, we picked a location, then went through Kelsey's closet to pick the wardrobe. Have fun with the planning phase. We certainly did.
It might sound basic, but identifying the vibe you want before you go out leads to much more interesting portraits. And on the day, keep talking. As Kelsey put it, what makes her job easier is someone who directs her and hypes her up. If you go silent, your model gets uncomfortable instantly.

2. Pay attention to the direction of the light
The direction of your light source has a massive impact on your portraits, and the best way to see it is to compare:
Side light. The sun was mostly to Kelsey's side, a little in front. That gave really nice shadows on one side of her face, an evenly exposed other side, and interesting shadows behind her.
Front light. With the sun at my back, everything is nice and evenly exposed. It looks good, but you lose all those interesting shadows.
Backlight. With Kelsey's back to the sun, you get a lot of dramatic shadows, and she becomes a silhouette.

Personally, I love shooting with side light, because I love the shadows on one side of the model's face. But I enjoy backlight too. Whatever you shoot, always pay close attention to your orientation to the sun. (For a deeper dive, here's my ultimate guide to lighting in photography.)

3. Embrace the imperfections
You don't have to capture the sharpest, highest-contrast images when you're shooting portraits. It's okay to embrace the imperfections. Shoot with sun flares, experiment with slower shutter speeds, or use something like a Pro-Mist filter, which I shot all of these portraits through. It softens the skin tones and the image in general, and leads to a more creative look.
At one point, Kelsey and I shot motion blur tracking shots while she walked, and they're super vibey. I'm a firm believer that the imperfections in photography make it the art form that it is. So don't be afraid to rough up your shots a little, just like I did when editing these. (Here's exactly how I edited this shoot in a dark and moody film style, and more on slow shutter speed techniques.)

4. Don't obliterate the background
This is something I see a lot of beginners do when they pick up their first prime lens. When you get that first 50mm f/1.8, it's so easy to open up to f/1.8 and completely obliterate the background behind your subject. It looks cool. But if you want a photo that really stands out, use the background to strengthen the story of your subject instead.
Most of the photos from this shoot were on a 35mm f/1.4, and yes, I shot at f/1.4 quite a bit to blur the background. But you can still see exactly what's going on in the scene. Even when I shot with an 85mm, I used the trees around Kelsey to help tell the story. So don't take the easy way out. Think about how the environment around your subject can add to the story. (This is a big reason I love the 35mm focal length for portraits.)

5. Focus on the details
Everybody loves a banger portrait where you can see everything nice and clear. But instead of shooting for one banger photo, shoot for an album: a collection of images that work together to tell the story of the shoot.
We used props, like flowers up on the hill, and I shot some really cool detail photos of those. Down on the beach, I captured details with a slow shutter speed, focusing on a specific vibe instead of showing everything in the frame. These detail shots add so much to a portrait shoot, so I'm always shooting the small details.

Bonus tip: stay for blue hour
After the sun sets, don't put your camera away and head home. Hang out for a little while and see what happens, because blue hour can give you some of the most beautiful light there is for portraits. It's incredibly soft, colorful and lovely. We had quite a few clouds that day, so it wasn't super dramatic, but we stayed and kept shooting anyway.

So, how do you capture more creative portraits?
Plan the story and the vibe before you shoot, watch the direction of the light, embrace the imperfections, use the background instead of obliterating it, shoot the details, and stay for blue hour. Filming video and shooting portraits at the same time is like using two different sides of my brain, but these five tips are what I lean on every time.
If you want to see more portrait content, let me know in the comments on the video.
Happy shooting!
Want more portrait tips? Grab my free Portrait Guide for more ways to plan, pose and light your portraits.


Sean Dalton
Made with ☕ and a camera.