Why Your Travel Photos Are Disappointing
Travel
Photography Basics
Come home with photos you're actually excited about.
·
8 min read

Have you ever gone on a trip with a bunch of ideas for your photography, only to get home, upload your images and feel like they're just... okay? I definitely have, and it's probably one of the worst feelings you can have as a photographer.
If that sounds familiar, here's why your travel photos are disappointing, and how to fix it. Over the last 10 years of travel photography, I've learned a few key tips that help me come home from my trips with a bunch of great images I'm genuinely excited about. I shot everything in this post during a month in Paris in the summer, and there's no better place to put these tips to work. Let's go!
READ OR WATCH: This blog post is also available in video form! If you'd rather watch me explain this content, simply watch the video below. Otherwise you can find the text guide below. Just keep scrolling!
In Why Your Travel Photos Are Disappointing, you can come shooting with me around Paris during a summer heat wave.
1. Give your photos a purpose
If you go on a trip without a plan or a purpose for your photos, you're probably going to end up with a bunch of random images sitting on your hard drive for years and years, and you'll never do anything with them. But if you do have a purpose and a plan for what you'll do with those photos after the trip, it gives you a ton more clarity and direction while you're actually shooting.
When I first started out, my main purpose for my travel photos was posting them on Instagram. I really enjoyed Instagram at the time, and I got a lot of value out of it. But now, 10 years later, I just really don't enjoy posting my photos there. For a while, I didn't know what to do with my photos. I'd go out and take all these great images, edit them, and then they'd just sit there.
A few years ago, I started putting together physical photo books. They're not for sale. They're just for me and my partner, to document our travels and our life. That gave so much more purpose to my photography, because all of a sudden I had an actual plan for these photos. Not only that, it brought a ton more variety to my photography too. Back when I was shooting for Instagram, I'd only chase the banger photos. Now I'm taking photos of the food we're eating, of my partner, of all the little moments that will end up in the book, which are things I never would have photographed back in the day.


So reflect on the purpose of the photos you take on your trip. What do you plan to do with those images? If it's just to post them on Instagram, honestly, that's totally fine. I used to really enjoy that. But if you don't, sit down and think about what you actually want to do with them, because it will give you so much more clarity and direction when you're shooting. (I'm super stoked to make a zine from this month in Paris.)
2. Capture the full range of a scene
Paris was having a horrific heat wave while I was there, so everyone was outside at Canal Saint-Martin: hanging out, swimming in the canal and jumping off the bridges. The vibes were absolutely insane, and it's the perfect example of this next tip. When you stumble across a scene with this much energy, do your best to capture the full range of it.
A lot of photographers would find a scene like this and just shoot the obvious shot (here, probably the bridge in the background with people jumping into the water). It's a nice wide establishing shot, and it's a cool photo, but it's just one angle. I like to really work the scene and capture a wide range of images that all work together to tell a much more interesting story. Make sure you're capturing at least three different types of photos:
Wide: the establishing shot that shows the scene and gives context.
Medium: move a little closer and look for smaller scenes within the larger scene, like the people jumping into the water.
Tight: move in even closer for the small details (someone's hand, reflections, textures) that might not explain the place, but help you feel its vibe and energy.


When you bring all of these images together in one album, you can tell a much more interesting and powerful story about the place you're photographing. So next time you're somewhere interesting, don't just shoot the obvious photo. Shoot wide, medium and tight to capture much more range.
3. Edit for the place you're in
Editing these canal photos reminded me of a problem a lot of photographers struggle with (I definitely did when I started out): editing your photos in a way that doesn't match the location.
A lot of photographers find an editing style that works for them in one place, then force it on all of their photos, no matter where they were taken. But every place has its own feeling, its own vibe and its own energy. Bali doesn't feel like New York. New York doesn't feel like Morocco, and Morocco doesn't feel like Bali. If you force an editing style onto a photo where it doesn't really match, you can actually do more harm than good.
In Paris, I'm not leaning into the super cool and moody vibe I would in New York City in the winter, or even in Bali, where a lot of my images are quite moody. I'm leaning into the summer vibes: the warm light, the hard light and the pops of vibrant color I see throughout the city. I'm still using my presets, but I'm choosing the ones from my pack that actually fit this location. The ones I've used the most here are the Portra 400 presets, plus Everyday Negative and Classic Negative. They work really well in a summer environment like Paris.

My point isn't that you need to completely reinvent your editing style every time you travel somewhere new. You can bring over certain stylistic elements from previous edits, whether that's a similar level of saturation, certain colors you like to highlight or a similar tone curve. Just make sure you're editing in a way that actually suits that environment. (For more on dialing in color, check out the trick to perfect color grades in Lightroom.)
4. Landmarks aren't everything
When we travel, we often go see famous landmarks, like the Eiffel Tower, and a lot of photographers think that's what makes a great photo. But if you Google "Eiffel Tower" right now, you'll see a bunch of photos that look exactly like this.

Photos like that aren't special, because they're a dime a dozen. Just because you have a famous landmark in front of you doesn't mean you're automatically going to get an interesting photo. The landmark isn't the most important thing in the photo. It's simply part of the photo, and you need to find a way to photograph it that's actually interesting and separates it from everyone else's photos. Instead of a basic shot of the Eiffel Tower, I walked around looking for interesting subjects to place in the foreground, with the tower in the background. That results in a much more interesting photo.


There really are a million photos online of famous places like this. So when you do visit a landmark, remember that it's just part of the photo, and take your time to explore the scene and find a way to capture something truly interesting.
5. Work with the light you're given
In Paris in June, the sun doesn't set until 10 PM, which means the light during the day is ridiculously hard and really difficult to shoot in. When we travel, we're working with a limited schedule. We're not moving there with all the opportunities in the world to photograph it. Whether it's a couple of days or a week, the weather and conditions aren't always going to be on our side.
When I first got to Paris, I realized I wasn't taking many photos during the day because it was so bright. That also meant I was missing so many cool photos of the places I was visiting with my partner. I realized that if I want those photos, I just need to shoot them, regardless of the conditions. Yes, that means a lot of my Paris photos were shot in pretty hard light. But it's always better to have a photo that might not be perfect than to not have the photo at all.
That goes for all types of light, not just hard light. If it's overcast, raining, or you can only visit a place at night, it's still better to take the photo than not have it at all. So now I'm shooting a lot more in hard light, and thinking about how I can still capture cool photos in it. (If you need help there, here's how to shoot in harsh midday light.)


That's the mindset to go into your trips with. When you're met with less than ideal conditions, don't get down on yourself and stop shooting. Look at the scene and think about how you can use the light you're given to capture something interesting. I think that's one of those skills all great photographers have: they know how to make something work when the situation isn't ideal. Light is incredibly important for your photos, but don't let it dictate whether or not you take one.
6. Slow down
The last tip is to slow down, both your photography and your travels as a whole. It's really easy to try to pack in as much as you possibly can. You have a list of places you want to see that you've never seen before, and I think that's great. That's what so many of us do when we first start traveling.
But the more you travel, the more you'll realize that when you're moving at a pace that fast, it's actually hard to settle in and capture great photos. One of the best things you can do for your photography is to slow down and let yourself really exist in a place, without all the distractions of organizing transportation, constantly checking your phone and looking at Google Maps.
When you slow down and give yourself the chance to explore and get lost, that's when you stumble upon some really incredible scenes, and you'll have the space to give them the attention they deserve. I used to pack so much into my travels, with a list of cities and a bunch of activities, and I realized it was actually hurting my photography.
Now I try to see less, but dedicate my full time and attention to the places I am visiting. That's exactly why my partner and I booked a whole month in Paris. There are so many beautiful cities in Europe I want to shoot, but I know I'll be coming back, and I wanted to give this city the time it deserves.

So, why are your travel photos disappointing?
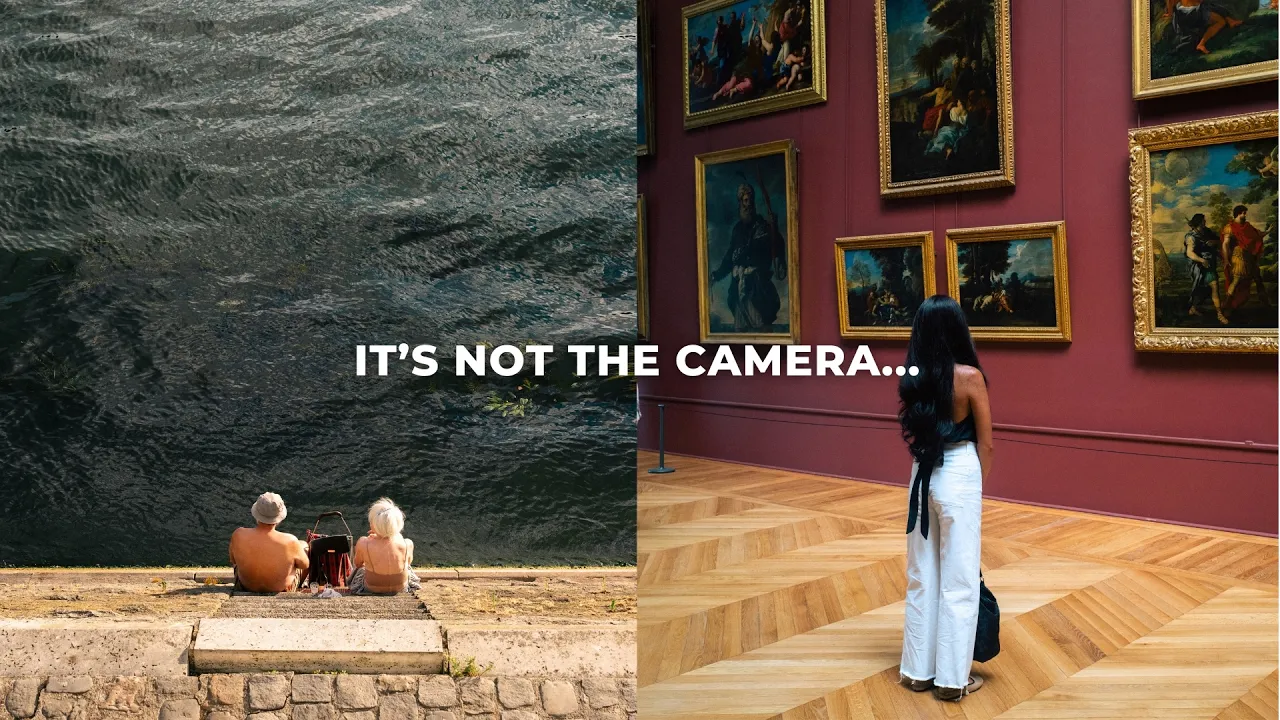
Usually it's not your camera. It's shooting without a purpose, stopping at the obvious shot, editing every place the same way, leaning on landmarks, waiting for perfect light and rushing through it all. Fix those, and you'll come home with photos you're genuinely excited about.
These are just some of the things I've learned over the last 10 years of travel photography that helped get my photos where they are today, and I know there's so much more I could talk about. If you think I missed something, drop a comment on the video and let's chat about it! And if you want to keep learning, check out the most important travel photography lesson I've learned.
Best of luck and happy shooting!
Do you vibe with my style? Most of the photos in this post were edited with my Film Vibes Preset Pack, the same presets I use to edit pretty much all of my images. Check out the Film Vibes Preset Pack

Get the look in one click
Film Vibes Preset Pack
30 film-style presets that give your photos a timeless touch, inspired by famous film stocks.
$34
30 presets · For Lightroom
Sean Dalton
Made with ☕ and a camera.