The Most Important Travel Photography Lesson I've Learned
Travel
Photography Basics
A simple four-shot system to break through tunnel vision on your trips.
·
8 min read

Travel is one of the best opportunities for photography. We're in a completely new place, everything looks, smells and sounds more interesting, and all we really want to do is capture that place with our camera.
But have you ever come home from an incredible trip, looked through your images and thought, "What the hell was I doing?" Yep, we've ALL been there, and it's exactly why this is the most important travel photography lesson I've learned. There are a few reasons this keeps happening, and one of the biggest is tunnel vision: getting so caught up in chasing the photos we think we should be taking that we overlook all the other amazing photo opportunities right in front of us.
So in this post, I'm sharing a simple four-shot system I've developed to break through that tunnel vision, so you come home from your trips with a bunch of great images you're genuinely excited about. I shot everything here across Italy, my favorite country for photography: Tuscany, Cinque Terre, Venice and the island of Procida.
READ OR WATCH: This blog post is also available in video form! If you'd rather watch me explain this content, simply watch the video below. Otherwise you can find the text guide below. Just keep scrolling!
In The Most Important Travel Photography Lesson I've Learned, you can come shooting with me around Italy while I walk through all four shots.
Shot 1: The obvious shot
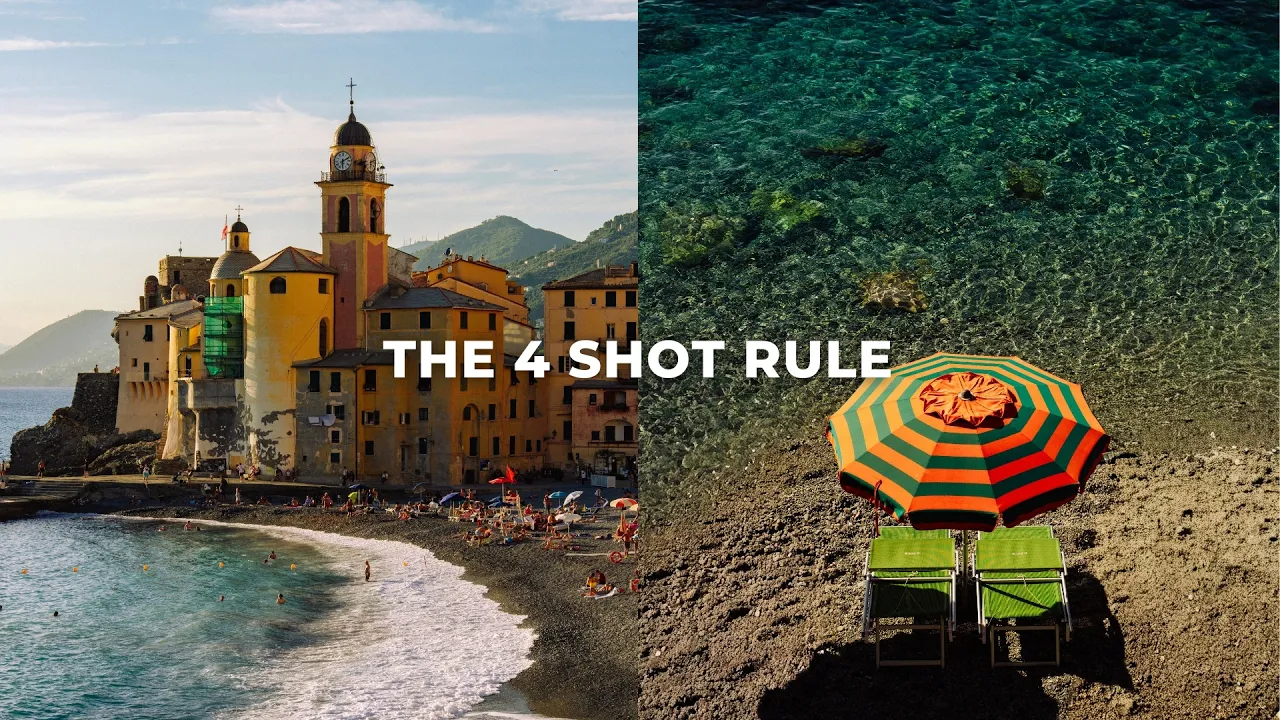
When I travel, one of the very first things I do is capture the obvious shot and get it out of the way. Often, that obvious shot is the photo that inspired you to go on the trip in the first place. A lot of the time, these are the postcard, stand-alone banger images that we see online.
For example, this is a photo I shot in Cinque Terre. I'd been thinking about capturing it for years, and it's one of the reasons I actually went to Cinque Terre in the first place. I'd consider it an obvious shot. Everyone kind of knows this angle, and it's popular because it simply looks great.

In Tuscany, the obvious shot might be a wide-open landscape of that beautiful countryside with a little stone house off in the corner. In Venice, it's the Grand Canal.


These photos are great. They're beautiful, postcard-worthy images that can stand alone, because they're usually wider shots that show a lot of the scene, and they're a fantastic place to start in a new location. But the mistake I think so many people make is going on these trips and ONLY trying to capture these types of photos. When you do that, you kind of turn your vision off and miss a ton of other awesome photo opportunities right in front of you. You're also leaving a ton of storytelling potential on the table, because there are so many other types of shots that can work together to tell a much more interesting story about that location.
Shot 2: The details
After you capture the obvious photo you had in your head, look at that scene a little deeper. Try to pick it apart and create more compositions within that larger composition.
I like to work my way all the way down into the super detailed texture shots. You capture the big, wide, obvious photo you came there for, then you go a little closer and capture some mid-range photos, and then you go all the way in and capture the details.
Now, these detail shots can't really stand alone. If you just posted one on its own, it probably wouldn't be all that interesting. But put it next to that postcard-worthy photo you shot in the beginning, and all of a sudden you have a much more interesting story.
Not only that, you also start to notice those small details, and oftentimes it's the small details that really make a place interesting. In Tuscany, I captured a lot of textured photos of the old medieval brickwork I was seeing throughout the towns. I love shooting texture like this, because you can get a little creative with the edit and bring out a ton of color, and it adds so much to a collection of photos.


Even if I'm just out walking around a new little village, I'm always on the lookout for the small details that really say something about the place I'm visiting. In Liguria, where Cinque Terre is, I photographed a lot of boats, because I think that really says something about the location. I also focused on the color of the buildings. There are so many beautiful colors in that part of Italy, and on Procida, those colors look so good set against the blue water.


In short: after you capture that obvious photo, don't put your camera away. See if you can pick the scene apart a little more, and always be on the lookout for the little details that say something significant about the place you're visiting.
Shot 3: The people
Out of all the different things we can photograph when we travel, I think the people who actually live in a place and experience it every day translate into the most interesting photos you can shoot on a trip. They're the same people who make that place what it is today.
On top of that, I just think photos with a person in them (or that relate the human experience in some way) are much more relatable to someone viewing that photo.

Now, I'm not saying you have to get super up close and personal and capture someone's face. Yes, that's probably the easiest way to bring human emotion into your photos. But even just including a person in your landscape photo, someone whose face you can't even see, or just part of their body like their foot or their hand, can bring that human element into your image.
Looking back at the photos from this trip, yes, the wide-angle bangers are beautiful and the detail shots are great too. But the photos that really stick with me (and maybe with you as well) are the ones with people in them. My favorites from Procida are from when I went up on the mountain and could see down onto the village. Everyone was walking up the hill to mass to celebrate St. Michael, the hero of the island, and I photographed them in the foreground with that beautiful colored town behind them at sunset.

So when you're traveling, absolutely capture those obvious bangers, and search for the smaller details that say something about the location. But out of all the photos you can shoot on your trip, I think the ones that will speak to you the most are the photos of the people who live there. (The light on Procida was a little hard, by the way, which actually works really well with those angular streets. If you're stuck with harsh light, here's how to shoot in harsh midday light.)
Shot 4: The experimental shot
When we're traveling and feeling super excited to be in a new place, we're also a little more creative. That makes a trip the perfect opportunity to try new things, experiment with new techniques and really bring that creativity to life.
On Procida, once the sun had set behind the horizon, I put an ND filter on and shot some slow shutter photos of the water and the boats. I also shot a series of self-portraits of my shadow. I've taken photos like that before, but never this intentionally across a wide range of scenes. Because I kept experimenting with it throughout the trip, I now have a really cool selection of shadow self-portraits shot in a ton of different environments around Italy.


What that experimentation looks like for you could be a million different things: a slower shutter speed, a new lens, shooting film for the first time. If there's a technique or a style of photography you've always wanted to try, your trip is the perfect opportunity to do it. Take that extra creativity you feel when you travel, put it into something you've never tried before, and you can end up with some super cool, creative shots that are the cherry on top of everything else you captured.
Bonus tip: Print your photos
So far we've talked about how to capture a wide range of images: the obvious shot, the details, the people who actually live in a place, and more creative photos through experimentation. But if you don't eventually have a plan to present those images together, then what's the point?
The whole reason to capture a diverse collection of images is that they all feed off each other to tell a much more interesting story about the place you visited. You don't really get that effect if they're just sitting on your hard drive, besides maybe a few posts on Instagram.
When you print your photos and lay them all out in front of you, they have a ton more purpose than a few random posts that are eventually going to fade into obscurity. Prints are tangible too. Being able to hold them, see how they look in different light and show them to people in person is an incredibly rewarding experience.

There are a bunch of different ways to print your images:
A zine: a small book with all your favorite photos from one trip.
A photo book: a larger book with more images.
Simple 4x6 prints: I bought a Canon Selphy 1500 a few years ago, and I've been using it to print images from our trips ever since.

After Italy, I spent some time in San Sebastian, and it was pretty cloudy, so I used that time to edit and curate the images I want in a zine. I put them all into a Lightroom collection called "Italy zine 2026" and started laying them out in an order I think will work really well. I'm also planning a 2026 photo yearbook with my favorite images from the year. That one isn't for sale. It's just for me and my family.
So, what's the most important travel photography lesson?
Break the tunnel vision. Get the obvious shot out of the way, then look deeper for the details, the people and something experimental, and come home with a plan to print it all.
I really think every photographer should be printing their photos in some way. It's a fantastic way to see how your images work together to tell a story, and it gives so much more meaning to the photos you'd probably never share publicly: the detail shots that don't tell a story on their own, but do when they're sitting among a bunch of other images of the same place. Ultimately, setting the goal of coming home and printing your images is one of the best ways to break through tunnel vision, because it pushes you to look for all the other types of shots you'd otherwise walk right past.
And if you want to keep improving your travel photos, check out my posts on how to improve your composition and how to find your photography style.
Best of luck and happy shooting!
Do you vibe with my style? Most of the photos in this post were edited with my Film Vibes Preset Pack, the same presets I use to edit pretty much all of my images. Check out the Film Vibes Preset Pack

Get the look in one click
Film Vibes Preset Pack
30 film-style presets that give your photos a timeless touch, inspired by famous film stocks.
$34
30 presets · For Lightroom
Sean Dalton
Made with ☕ and a camera.