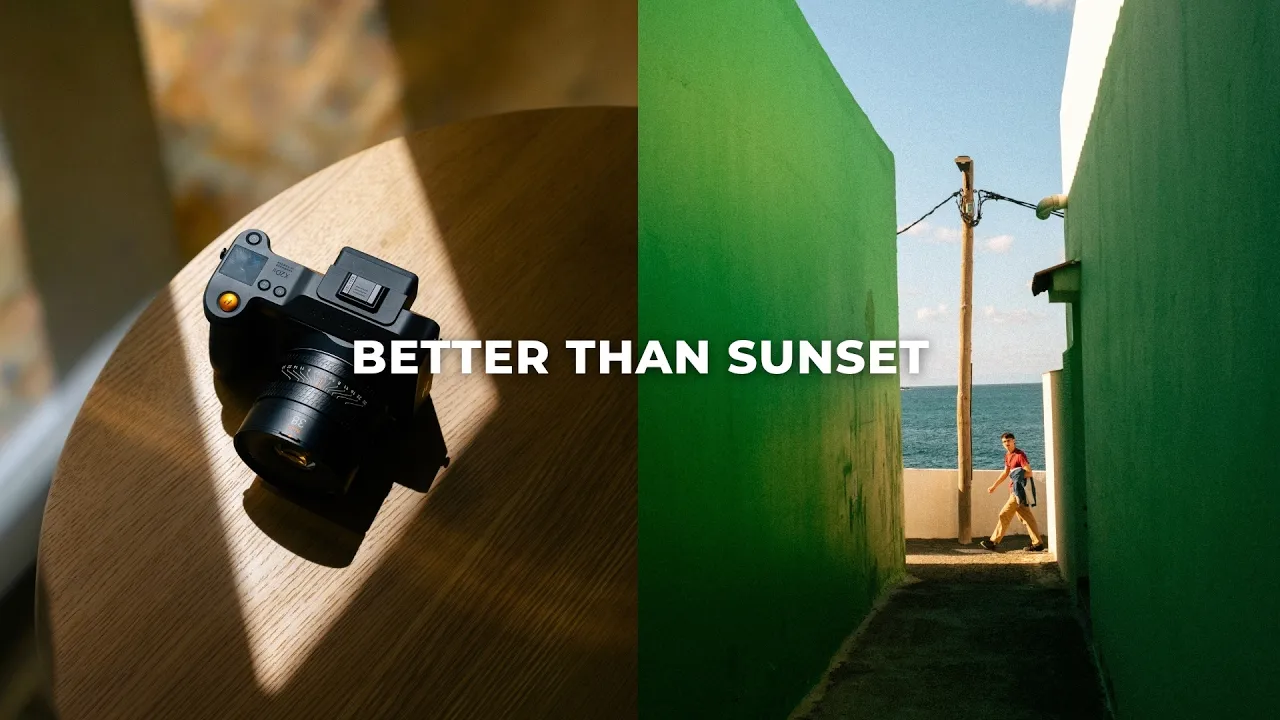
How to Shoot in Harsh Midday Light
Travel
Photography Basics
Harsh midday light can bring something to your images that sunrise and sunset simply can't.
·
9 min read

One of the first things you probably heard when you started learning photography is that you should never shoot in harsh midday light. Sunrise and sunset are the best times to shoot, and if you're shooting in the middle of the day, you're wasting your time.
Honestly? I think that's a lot of crap. Learning how to shoot in harsh midday light might seem difficult at first, but it's one of the best skills you can develop as a photographer. Over the last 10 years, I've gravitated more and more toward harder light in my work, because it can bring something to your images that sunrise and sunset simply can't. I spent about a month shooting in Lisbon in mid-August (a beautiful and incredibly bright city), and these are the tips I leaned on the most. Let's go!
READ OR WATCH: This blog post is also available in video form! If you'd rather watch me explain this content, simply watch the video below. Otherwise you can find the text guide below. Just keep scrolling!
In How to Shoot in Harsh Midday Light, I walk around Lisbon in the middle of the day and show you each of these tips in person.
1. Be selective with your subjects
One of the most important things to understand when shooting in hard light is that you have to be a little more selective with your subjects. To put it simply, some subjects just look great in hard light and others don't. In general, simple scenes with large shapes or negative space work much, much better than busy scenes full of chaotic textures.
Take a park, for example. I love spending time in parks, but they're full of trees, bushes and grass. In hard light, all that foliage turns into a mix of hundreds of different highlights and shadows that gets really chaotic, overly busy and tough to look at. Honestly, I probably wouldn't even try.
A simple street is a different story. Instead of a million different shadows, you only have a few core shadows to worry about. Not only does that make the scene much easier to compose, it makes the final image much easier to look at too. That's why, if I'm shooting in the middle of the day, I much prefer cities or wide-open spaces like beaches. They have a lot more negative space, which makes them so much easier to compose in harder light.


If you're having a hard time finding simple scenes, try shooting with a longer lens when the light is really bright. It's much easier to hide distracting elements, and you can pick apart compositions and zoom in on the areas that just look better in hard light.
I also really like using the sky as negative space. But if you do that, you need to be extremely intentional about where you position yourself in relation to the sun, which leads me to the next tip.
2. Pay attention to the direction of the sun
I've talked about light direction in so many of my lighting videos, and it's incredibly important for one simple reason: the direction of your light source, in relation to you and your subject, determines where the shadows fall in your image.
And shadows are equally as important as light, because they create a sense of depth. Without any shadows, your image can feel incredibly flat, almost two-dimensional. When areas of light and shadow interact, you get a photo that's not only more interesting, but has a much greater sense of depth, shape and separation.
There are three main light directions to think about in hard light (or any light, for that matter):
Front light: the sun is behind you and everything in front of you is nice and evenly lit. Your subject's shadow falls directly behind them, so you can't see it, and it isn't creating any depth or shape.
Backlight: you're shooting into the sun, with the sun between you and your subject. You get fantastic subject separation and even some nice rim light, but also incredibly deep shadows. Include the sun in the frame and you'll often get a silhouette, where the background is nicely exposed but your subject is almost pure black.
Side light: the sun is to the side of your subject, or just out of frame. This is where the magic really happens. It introduces a ton of beautiful shadows that create a much deeper sense of depth and add a lot of visual interest.

Front light, backlight and side light, left to right.
In harsh light, I'm almost always shooting with side light, or backlight with the sun just outside the frame. That's what gives my images the most flattering look and the most visual interest. When I'm out shooting, I'm constantly moving around and changing my position in relation to the sun, because sometimes moving just a few feet can completely change the look of your photo.
3. Expose for the highlights
It's much easier to bring back detail in the shadows than it is in the highlights. So when I'm out shooting in harsh light, I typically underexpose my photos by half a stop or a full stop. Just check that your light meter reads -0.5 or -1.
An even better way to make sure you're not overexposing your shots is to use your histogram. I've been shooting with the Hasselblad X2D 100C II, and I shoot with the histogram enabled. As long as the highlights aren't bunching up and clipping against the right side of the box, they're exposed properly. Same goes for the shadows on the left side.

Generally speaking, you want all your tones sitting kind of in the middle of the histogram, but that's a lot harder to do in bright light. So I underexpose in camera, then bring the shadows back up when I edit.
4. Don't max out the detail
Underexposing makes sure you have as much data as possible in the file, so you can really craft the image into something you like when you go to edit it. But just because you have all that detail in your raw file doesn't mean you need to maximize it.
In a super high contrast scene, sometimes it's better to lean into that contrast than to pull out every bit of detail and end up with an image that looks way too HDR, overly detailed and unnatural.
This usually happens when you open a photo, see really bright highlights and really dark shadows, and drag the highlights slider all the way down and the shadows slider all the way up. Just because you can doesn't mean it looks better. It's totally okay to clip your blacks and lose detail there. Same goes for the highlights, if it makes the final image look better.
Here's a photo I shot in Lisbon in a very high contrast scene. It definitely wasn't the most optimal light, but it was such a good scene that I really wanted to salvage it. I did bring down the highlights and bring up the shadows, but not as much as I could have, because it would have made the image look overly detailed and unnatural.

This works the other way too. If you try to add a bunch of contrast to a lower contrast scene, it can look a little weird. Look at the contrast level your image already has, and enhance it without going so far that it looks unnatural.
5. When the light is too harsh, wait or find reflected light
Okay, but what do you do if the scene has too much contrast? Say the sun is literally directly overhead, the light is way too harsh, and you're getting deep shadows under your subject's eyes (absolutely horrific light). There are a few things you can do.
Wait a few hours. By 2 or 3 PM, the sun dips a little lower in the sky and gives you much more directional light that's a lot easier to work with. Midday isn't just one moment between sunrise and sunset. It's a big chunk of the day, and even a few hours can make a huge difference in your light.
Get in the shade and use reflected light. If you have to shoot right now, step into the shade and light your subject with reflected light instead of direct light. This is especially useful for portraits. Light reflects off of absolutely everything, especially bright surfaces like buildings, white walls, sandy beaches and sidewalks, and it bounces back onto your subject as much softer light.

Just remember that color is light too. Just as light bounces off a surface, so does color. Shoot in front of a big bright red wall and you'll probably get a lot of red light cast back onto your subject. Neutral surfaces like white, light yellow or cream give you much more neutral light. So at high noon, instead of fighting the light, sometimes it's better to just find some shade and use reflections to light your subject.
6. Use hard light to frame your subject
Sometimes that super hard light is exactly what your photo needs. When you find a spot where hard light is being directed into a very specific area, that's an opportunity to capture some incredible photos.
This shows up in so many of my portfolio pieces. When I find that light, I wait for a subject to walk right into the perfect part of the frame, and I use the light to frame them for a much more dynamic composition.


This works a lot better in cities, where light gets directed through small alleyways and people are walking through the scene. Lisbon has a ton of these old little streets, so it's perfect for photos like this. Bonus points if you account for your subject's shadow in the composition too.
7. Look for color, then add more in the edit
We can't talk about hard light without talking about color, and I don't think there's a better place in the world for that than Lisbon (they say it's the most colorful city in the world). Hard light and color absolutely go hand in hand. In harsher light, the colors in a scene really pop, mostly because of the enhanced contrast. When you enhance contrast, you also enhance saturation and color.
So if you're out in the middle of the day and really struggling with the light, stop putting pressure on yourself to capture perfect compositions. Instead, look for interesting colors in the environment and find creative ways to capture them. Maybe it's a more abstract shot, or complementary colors positioned right next to each other.


Capturing color in camera is only part of it, though. Midday light actually lacks quite a bit of color compared to the golden light at sunrise or sunset. But it also gives you deeper shadows and brighter highlights, which means photos shot in the middle of the day respond really, really well to adding color later with the Color Grading panel in Lightroom.
When I'm working with a bright image with lots of highlights, here's what I do:
Add warmer tones into the highlights for a ton more color depth and interest, instead of just adjusting the Temperature slider.
Add warmer tones into the midtones to really warm up the image.
Add blue into the shadows, the complementary color of orange and yellow.

That combination creates a lot more complementary color, and so much more color depth in the photo. There are a ton of combinations you can do with the Color Grading panel, but this is the one I use the most. If you want to go deeper, I wrote a super detailed guide on the trick to perfect color grades in Lightroom.
Bonus tip: Be creative with it
If there's one last tip I'd leave you with, it's this: when you find yourself shooting in harsh midday light, be creative and think about how you can use that light to your advantage to capture the photos you want. This list is by no means exhaustive. There are so many different ways to make hard light work for your photos, so get out there in the middle of the day and experiment.

So, should you shoot in harsh midday light?
Yes! Harsh light isn't something to hide from. Pick simple scenes, watch where the sun is, protect your highlights, and lean into all that color, and the middle of the day becomes one of the best times to shoot.
Did I miss one of your go-to tips for shooting in harsh light? Drop it in the comments on the video. If I make a part two, I'll include the best ones! And if you want to keep learning, check out my posts on how to improve your composition and how to find your photography style.
Best of luck and happy shooting!
Do you vibe with my style? Most of the photos in this post were edited with my Film Vibes Preset Pack, the same presets I use to edit pretty much all of my images. Check out the Film Vibes Preset Pack

Get the look in one click
Film Vibes Preset Pack
30 film-style presets that give your photos a timeless touch, inspired by famous film stocks.
$34
30 presets · For Lightroom
Sean Dalton
Made with ☕ and a camera.