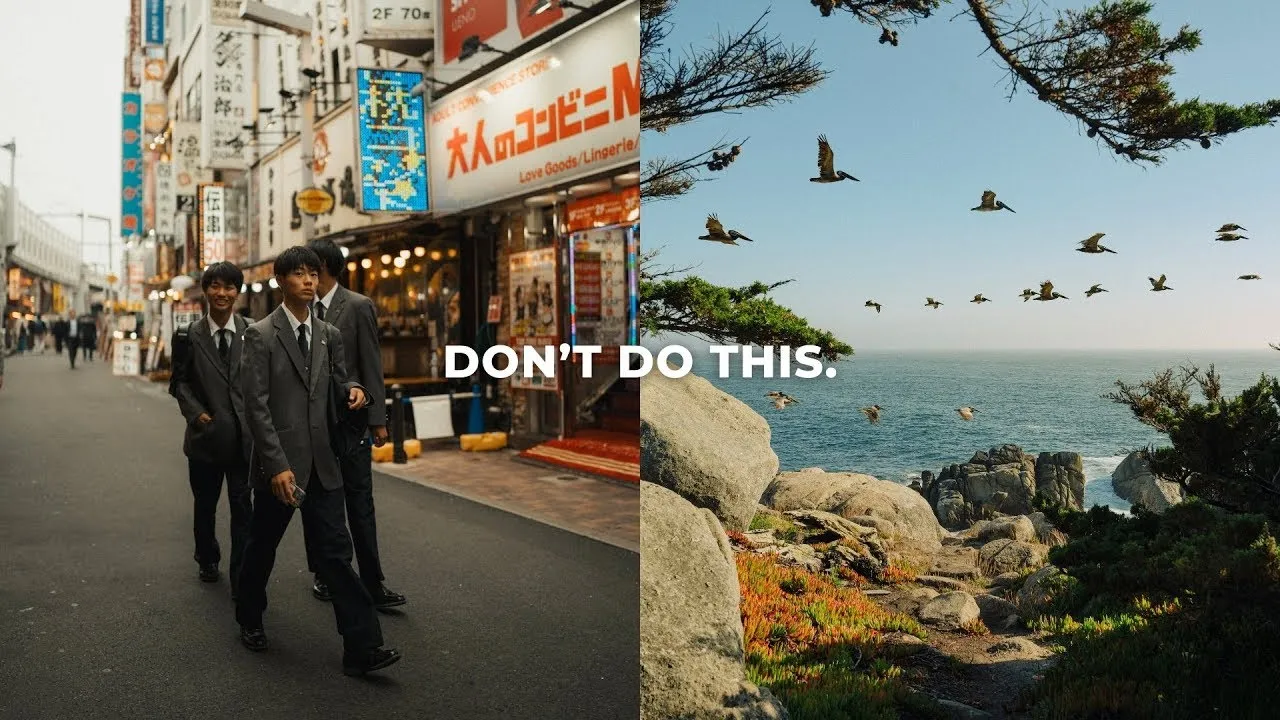
Why Most Travel Photos Are Forgettable (9 Lessons From 10 Years of Travel Photography)
Travel
Ten years of travel photography taught me a lot, not just about gear and logistics, but about how to actually approach a place when you get there. Here are nine lessons that changed my travel photos.
·
11 min read

Traveling is one of the most exciting and rewarding things we can do as photographers, and for many of us, it's one of the key reasons we got into photography in the first place. But a lot goes into the travel photography process: knowing what gear to bring, scouting locations, planning your trip, and of course, what to actually do when you get there.
So in this post, I'm sharing the travel photography advice I've picked up over the last 10 years. Not just about gear and logistics, but about how to approach your photography when you arrive, so you have a better experience and walk away with more interesting images. Let's go!
READ OR WATCH: This blog post is also available in video form! If you'd rather watch me explain this content, simply watch the video below. Otherwise you can find the text guide below. Just keep scrolling!
In Why most travel photos are forgettable, I walk through each of these lessons with photos from my trips.
9 lessons from 10 years of travel photography
1. Be okay with missing shots
This one comes down to bringing less gear. When I started out with travel photography, I brought all of my gear on every trip: several zoom lenses, a couple of primes, multiple bodies and a drone. Over the years, I realized that not only was my back hurting more, but the stress of carrying and flying with so much gear distracted me from the most important thing in travel photography: enjoying my time there, and walking away with images I was proud of.
I've really started taking less gear, and it's made my trips so much more fulfilling. A lot of the time, you can capture the image with one camera and one lens. Yes, there will be situations where you miss a shot because you didn't have the right lens. But I'd argue the time you save not changing lenses and not lugging a super heavy backpack around will actually result in better photos over the whole trip.
A single zoom lens and maybe one prime is usually more than enough. I used to always bring a 70-200mm, but I found I was only using it a few times per trip, and most of the time I was shooting with my 24-70mm and my 35mm prime. So yes, bring less gear, but first you have to come to terms with not being able to shoot every variation of every composition with every lens. You're much better off with a simpler, lighter, streamlined setup.
I'd also recommend investing in a good travel photography backpack and a small camera sling. The backpack covers you for bigger shoots and getting through airports, and the sling is perfect for casual street photography. (Here's the travel photography gear I bring on every trip.)

2. Connect with local photographers
I've made a real effort to do this more over the last few years, and because of it my trips are more interesting, I see so many more things, and I walk away with much better images.
Hanging out with another photographer means you get to see the place with another person, and it opens the door to so many local insights. So many of my favorite images were taken in places I wouldn't have known about if I hadn't reached out to local photographers who took me there. We'd go out shooting together, and I'd get to learn about the culture and the location from them, and see how they shoot, which is always a learning experience.
So when you're researching your trip, one of the first things you can do is go on Instagram and DM some local photographers: "Hey, I'm coming out in a few weeks and I'd love to hang out and do some shooting with you." Grab a coffee, a beer or dinner. Just making that connection can make your trip so much more interesting and fulfilling.

3. A beautiful location doesn't equal a beautiful photo
One of the biggest mistakes you can make is heading to a beautiful location and assuming you'll get a good photo there. Sometimes it works. You get lucky with the light, you have the right lens, and you walk away with a banger. But there's so much more to a beautiful photo than the location. There are the stylistic elements, like lighting, composition and detail, and the technical side too, like your lens and camera settings. Subject matter is only one piece of the puzzle.

So when you're shooting somewhere beautiful (which you undoubtedly will be, because that's often why we travel), don't be lazy and rely on the location. Be creative and look for interesting ways to photograph it. And on the flip side, just because you're somewhere boring doesn't mean you can't capture a beautiful image. Some of my favorite photos were taken in pretty boring places most people would overlook. You're in control of that.

4. Use popular locations as a starting point
I really struggled with this when I started out, and I think a lot of photographers do. When we research a trip, one of the first things we do is search the destination on Instagram or Pinterest and look at the photos. That's a great way to find some amazing locations. But over time, you realize they're all the same places, with everyone shooting the same composition in a slightly different style. And because those spots are so dominant online, it's really hard to find the lesser-known ones.
For me, finding new ground was always really important. I wanted to shoot something other people hadn't shot before. The truth is, you won't find a lot of those lesser-known locations until you actually show up, start exploring and get a little lost.
So these days I go to the popular location and use it as a starting point. At the very least, I capture the composition everyone else is shooting. But nine times out of 10, I walk away with something unique too, just by paying attention to my surroundings and relying on my creativity. A good example is a famous farm in a small town in Vermont that everyone photographs in autumn. I went in 2018 and shot that same composition, of course. But then I explored the area a little more, and captured a few images I think are much more interesting.

If you'd rather avoid popular locations altogether, that's totally fine too. But I do think it's good to have a general idea of the vibe of the places you might come across. (If you're planning a trip, here's why your travel photos might be disappointing.)
5. Pack AirTags and step-up rings
This one is short and sweet: two small pieces of gear I can't travel without these days.
AirTags. These are a must-have for every traveler, photographer or not. I put one in my checked bag, so I can track my luggage and tell the airline where it is if it gets lost. I also put one in my main camera backpack, my camera sling and my wallet, so if any of them get stolen, I have a little more recourse.
Step-up rings. A step-up ring screws onto the front of your lens to change its filter thread size. All my lenses fall between 67mm and 82mm, so I buy all my filters at 82mm and use step-up rings on the smaller lenses. That way I only need one ND filter and one polarizer, which saves money and space.

6. Shoot in sets
When we get to a beautiful location, a lot of us shoot the first composition we see, then move on. But there's often a lot more to shoot in that place.
Over the last few years, I've started thinking in sets. When I approach a new location, I aim to shoot six photos: two wide, two mid and two tight. It adds a ton of diversity to my shots, and I've always said that a collection of images is so much more compelling than a single banger. Thinking in sets lets you tell a much more meaningful story about a place, and story is the most important thing in photography.
Another way to think about it: instead of taking photos of a place, take photos about a place. Focus on the small details, like light spilling through a cafe window, interesting textures or pops of color that define the location. I shot a whole set on the colors of Bangkok, because color was one of the first things I noticed and felt attached to there, and I wanted to capture that story in a collection of images.

7. Sunrise is king
I'm not saying sunrise is the only good time to shoot. When you're traveling, you should shoot at all times of day, because you never know when a location will look its best. Some places look epic in harsh midday sun and terrible in the morning, and others are the opposite. (Here's how to shoot in harsh midday light.)
But sunrise is a really unique time to experience while traveling, and a lot of photographers don't have the energy or willpower to wake up for it. You get so much out of waking up before everyone else. You see the city without a ton of people walking around, and you get a really close, intimate feeling for the place. Some of my favorite memories are walking around a city super early, when the only people awake are the old folks starting their day. It's also a great chance to shoot compositions with a single subject, instead of a crowd walking through your frame.
And if you're traveling with someone who doesn't want to spend the whole trip walking around taking photos, this is your window. Wake up, shoot for a bit, then meet them for breakfast.

8. Shoot in aperture priority
For all the manual mode maximalists reading this: most professional photographers aren't shooting in manual all the time, because there's no real reason to. Aperture priority lets you set your aperture and has the camera choose everything else, and in good light, the only thing that really matters is depth of field, which your aperture controls.
This might sound simple, but I remember not bringing my camera on one of my early trips, because I didn't want it to consume the trip. It wasn't easy for me to use, and I spent so much time dialing in perfect settings that it pulled me out of my environment and I couldn't fully enjoy myself. In reality, you don't need to think about all of that. Shooting in aperture priority lets you connect with the scene in a much deeper way, and the stylistic elements of photography (composition, lighting, storytelling and detail) are much more important than your exact settings. (More on this in why you don't need to shoot in manual mode.)

9. Research the culture and laws before you go
A lot of the time, we're traveling to places that are quite foreign to us, with cultures that might directly conflict with the one we grew up with. It's really important to have an idea of what to expect when you get there, not just about what's okay when photographing people on the street, but about the laws too.
Drone laws. Every country has different drone laws. If you want to fly a drone, look up the local laws and get any permits you need ahead of time. The last thing you want is to get arrested while you're traveling the world taking photos, and yes, I've heard of it happening.
Local customs. Japan, for example, has a lot of unspoken social norms that you're expected to follow even as a tourist, like not talking on the train or taking photos of people on the train. Being a tourist doesn't give you the right to be disrespectful, so look into these things before your trip.

So, how do you make your travel photos less forgettable?
Those are some of the biggest lessons I've learned as a travel photographer: bring less gear and be okay with missing shots, connect with local photographers, don't rely on beautiful locations, use popular spots as a starting point, pack AirTags and step-up rings, shoot in sets, wake up for sunrise, shoot in aperture priority, and respect the culture and laws of the places you visit.
Honestly, this was a hard list to put together, because there are so many more tips I could have included. If you think I missed something important, let me know in the comments on the video. And for more, check out my 11 travel photography tips to stop shooting like a tourist.
Happy shooting!
Want to get fluent with your camera? If you want to master the exposure triangle and the rest of the basics, my Photography Essentials course covers everything you need to know as a beginner photographer.


Sean Dalton
Made with ☕ and a camera.