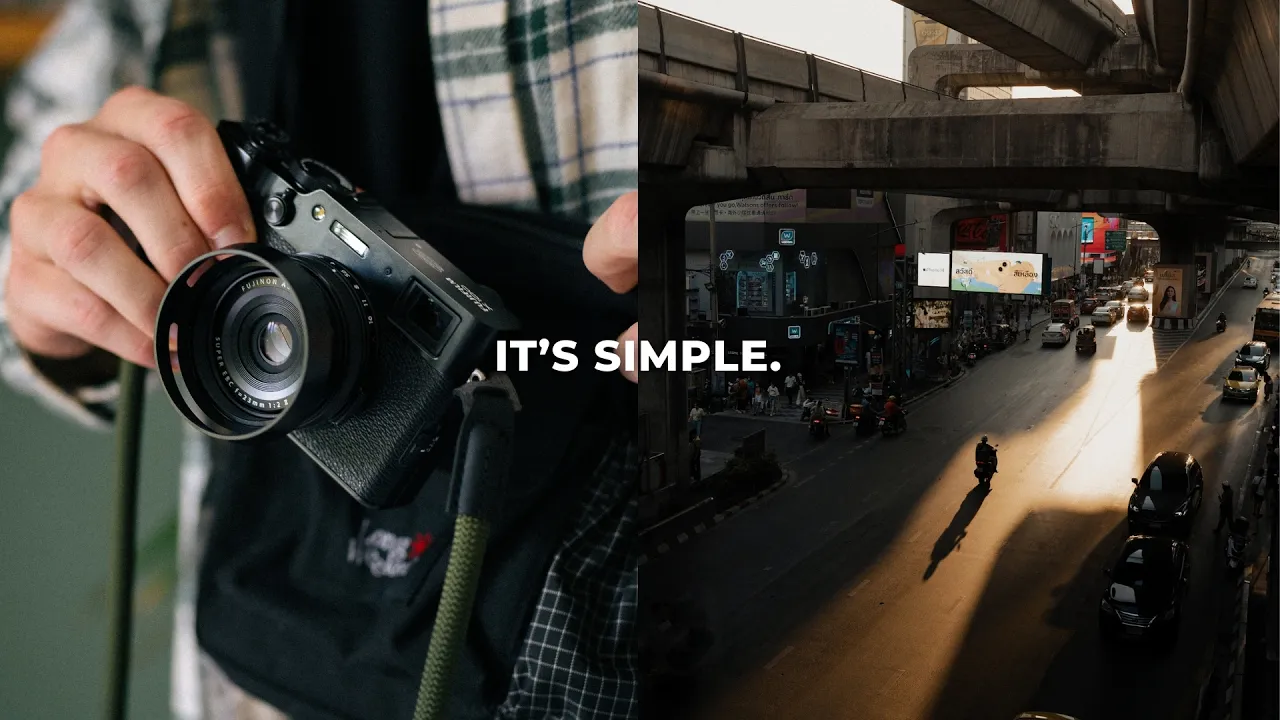
8 Street Photography Mistakes That Make Your Photos Boring
Photography Basics
My early street photos were boring. Here are the eight street photography mistakes I made along the way, and how to fix each one.
·
10 min read

When I first started street photography about 10 years ago, my images were definitely a little boring. I had no idea what I was doing. My compositions were wonky, my edits were completely overdone, and I'm pretty sure I was shooting in full auto.
Since then, I'd like to think my street photos have gotten a lot better (hopefully you agree). I've been able to shoot in cities all around the world, and I can now consistently walk away with great images every time I go out. But I made a ton of street photography mistakes along the way, and a lot of them are the same mistakes I see other photographers making. So here are the big ones, and how to fix them. Let's go!
READ OR WATCH: This blog post is also available in video form! If you'd rather watch me explain this content, simply watch the video below. Otherwise you can find the text guide below. Just keep scrolling!
In My street photos sucked... until I did this, I walk through each of these mistakes using my own street photos.
1. Your photos lack purpose
The first mistake, and perhaps the most important one, is that your photos lack purpose. Let me explain.
Street photography covers a lot of different styles. There's the raw, confrontational style, where you're sticking a camera in someone's face and getting really up close and personal. There's the observational style, where you're trying to be discreet and capture a candid photo in the most unbiased way possible. And there are styles that aren't so much about the human experience as about capturing beautiful scenes on the street, where a person is sometimes the main subject and sometimes just a supporting character.
There's no right or wrong way to do street photography. But your photo needs to fulfill a purpose, and every great street photo does at least one of these two things incredibly well:
It documents a significant moment in time. The subject matter is really holding the weight in the image, and it tells a meaningful story about something happening in real life.
It focuses on aesthetics. It's visually beautiful and appealing, and the subject matter might not be all that important.

If your street photo isn't doing at least one of these well, there's nothing significant about it, and that's when your photos start to get boring. Ideally, you want to do both: document a really interesting moment, and do it in a beautiful way, paying close attention to the light, the color, the composition, and how all of those elements come together.
So look back at some of your past street photos and ask yourself what their purpose is. Are they documentation? If so, is the subject actually interesting enough to make the photo interesting? Or are they about aesthetics? If so, is the image actually visually beautiful?

2. Overdoing three editing sliders
There are a lot of editing mistakes beginners make with street photography, but there are three specific sliders I see overused more than any other adjustment, in Lightroom or any other editing software. They can absolutely wreck your street photos:
Clarity
Highlights
Shadows
For some reason, a lot of street photographers are really focused on capturing a super gritty street vibe, especially in grungier cities, like certain parts of New York, or Bangkok or Vietnam. The first thing they do in their editing software is ramp up the clarity, completely drop the highlights and push up the shadows.
That definitely gives your photo a gritty look. But you can very quickly take it too far, to the point where the photo looks way too HDR and wildly unnatural. It's just not pleasing to the eye, because there's too much happening.

Sometimes it actually looks better if you let the highlights be super bright or the shadows be super dark. You don't always need to show everything in the image. Personally, I drop the clarity on a lot of my images, because I don't want every little detail to be distracting. Same with highlights and shadows. I like a lot of dynamic range, but I don't want it to look unnatural. (If you want to go deeper on this, here's the trick to perfect color grades in Lightroom.)
3. Focusing on the subject and not the city
The next mistake, which I made so much early on, is focusing too much on the subject and not the city itself. I see so many photographers travel to beautiful, super interesting cities, but when I look at their images, they could have been taken anywhere.
One of the biggest culprits is shooting with a lens that's a little too zoomed in. Don't get me wrong, I love telephoto lenses. Even in cities, I like shooting at 200mm, because the compression can look really cool. But if you shoot everything at 85mm, 100mm or 200mm, your field of view is so small that you'll leave out a lot of the really interesting elements a city can offer.

You can still shoot with a longer lens, but back up and show us more of the scene. Show us what's happening around your subject, and include secondary subjects that add to the story of your main one.
Street portraits are a good example, whether they're candid or the person is posing and smiling for you. A lot of photographers slap on an 85mm f/1.4 and blur the background completely, so the focus is 100% on the subject. Sometimes that's exactly what you need, because the background is distracting. But in a lot of situations, those photos could benefit massively from showing more of the scene to support that person's story.

That's why I personally like shooting with a 35mm lens. Yes, a wide lens makes it harder to get really intimate shots, and you have to get pretty close to your subject. But most importantly, it shows the scene, and it tells a much deeper story about that particular place and that particular city. That's what I'm drawn to in my photography. (Here's more on how to shoot with a 35mm lens.)
4. Not being patient enough
This next mistake is one I still struggle with, even after more than a decade of shooting: not being patient enough.
I'm a massive supporter of going out on foot, roaming through a city with no direction, getting lost, and moving from place to place looking for something interesting. But sometimes you'll stumble across a scene that's just too good to pass up, and all it needs to be complete is for one person to walk into a very specific part of the frame. When that happens, the worst thing you can do is move on too quickly.

That's why I follow what I call the minimum five-minute rule: hang out for at least five minutes and see how the scene unfolds. This isn't a new concept at all. Henri Cartier-Bresson, one of the most famous street photographers of all time, coined the term the decisive moment, where you wait for that person to walk into the perfect part of your frame and capture it at exactly the right time. Fan Ho, another one of my favorite photographers, did this too, and you can see how impactful their images are because they were patient.
Patience really does go a long way in street photography. And it's a minimum five-minute rule, so if you need to hang out for 10, 20 or 30 minutes, or even an hour, do it. You might be capturing one of your favorite images of your entire portfolio.

5. Carrying too much gear
This one's quick: keep your kit small. Go out with one camera and one lens, and don't bring your whole setup. There are a couple of reasons for this.
First, a smaller setup means you're more discreet on the street. People won't notice you as much, so it's much easier to capture candid, unbiased photos. Second, and probably more importantly, every time you change lenses, look away from your scene and start fiddling with your gear, you're less present in that scene.

The most important thing you can have as a street photographer is a deep level of observation, and that comes from presence. When you're fully present, you notice so many things other people miss. So keep your kit small, try not to fiddle with your gear, put your phone on silent in your pocket, and just be present on the streets.
6. Only shooting at sunrise and sunset
The next mistake has to do with light: not shooting in all the different lighting a city offers. One of the first things we learn is that sunrise and sunset are the best times to shoot, and a lot of the time they are. But in a city, one of the worst things you can do is only shoot at sunrise and sunset.
The whole vibe and energy of a city can change depending on the time of day and how the light interacts with the streets. Some cities even look their best in super bright, hard midday light. Light does all kinds of crazy stuff in a city. It reflects off buildings, spills into the roadways, and creates really strong, interesting shadows (here's how to shoot in harsh midday light).

And at night, all the artificial light creates some really interesting and unique situations you should definitely try to capture. So if you're shooting a city on a trip, shoot at all times of day. Go out before sunrise, shoot through the morning and the middle of the day, and shoot at night too, because the entire vibe of the city might change hour by hour.

7. Being too slow with your camera
The next mistake is being too slow with your camera and missing a beautiful moment right in front of you. Some scenes happen incredibly quickly, and if you're not quick enough, you'll miss them altogether.
I'm not saying you need to rush around in a hurry the whole time. You can take things slow. But you do need to be nimble, because moments happen fast and they might never happen again.

My best advice for being quick is to shoot in aperture priority, or even full auto if you're not comfortable with your settings yet. If you try to shoot in full manual all the time, I promise there will come a time when you miss a shot. In aperture priority, your camera reads the light in the scene much faster than you can and picks a proper exposure, and most likely it'll pick almost exactly the settings you would have chosen in manual. Honestly, camera settings aren't as important as so many people think. As long as you're somewhat close to the ideal settings, you'll be totally fine. (I make the full case in why you don't need to shoot in manual mode.)
Some cameras make this easy. My Sony A1 II is insane: I point it at my subject, it focuses, and it basically takes the photo for me. With my Fuji, I need to stay on my tippy toes, because the autofocus isn't as fast. But I still don't find it holds me back, as long as I'm really present and quick on my feet.
8. Not shooting enough
The final mistake is one so many of us can relate to: you're not shooting enough. The truth about street photography, or any style of photography, is that some days you'll shoot for eight, 10, 12 hours and get nothing good. Other days the stars align and you walk away with dozens of great photos. You never really know what you'll stumble on.
That's why I always say the more you shoot, the luckier you get. A lot of street photography is about being in the right place at the right time, and you won't find yourself there unless you're actually out on the streets.

Yes, I've shot some absolute heaters on the street. What you don't see is the eight hours I spent walking around Tokyo looking for that shot in the first place. It's not always easy to get up and walk around a city all day, but the more you go out and shoot, the more great photos you'll have in your portfolio.
So, how do you stop making these street photography mistakes?
These are all street photography mistakes I've personally made, and ones I see in a lot of other photographers' work too. Give every photo a purpose, go easy on clarity, highlights and shadows, show the city and not just the subject, be patient, keep your kit small, shoot in every kind of light, stay quick, and most of all, keep shooting.
I'm sure there are other mistakes I could have included. If you think I missed a big one, let me know in the comments on the video.
Happy shooting!
Do you vibe with my style? Most of the photos in this post were edited with my Film Vibes Preset Pack, the same presets I use to edit pretty much all of my images. Check out the Film Vibes Preset Pack

Get the look in one click
Film Vibes Preset Pack
30 film-style presets that give your photos a timeless touch, inspired by famous film stocks.
$34
30 presets · For Lightroom
Sean Dalton
Made with ☕ and a camera.