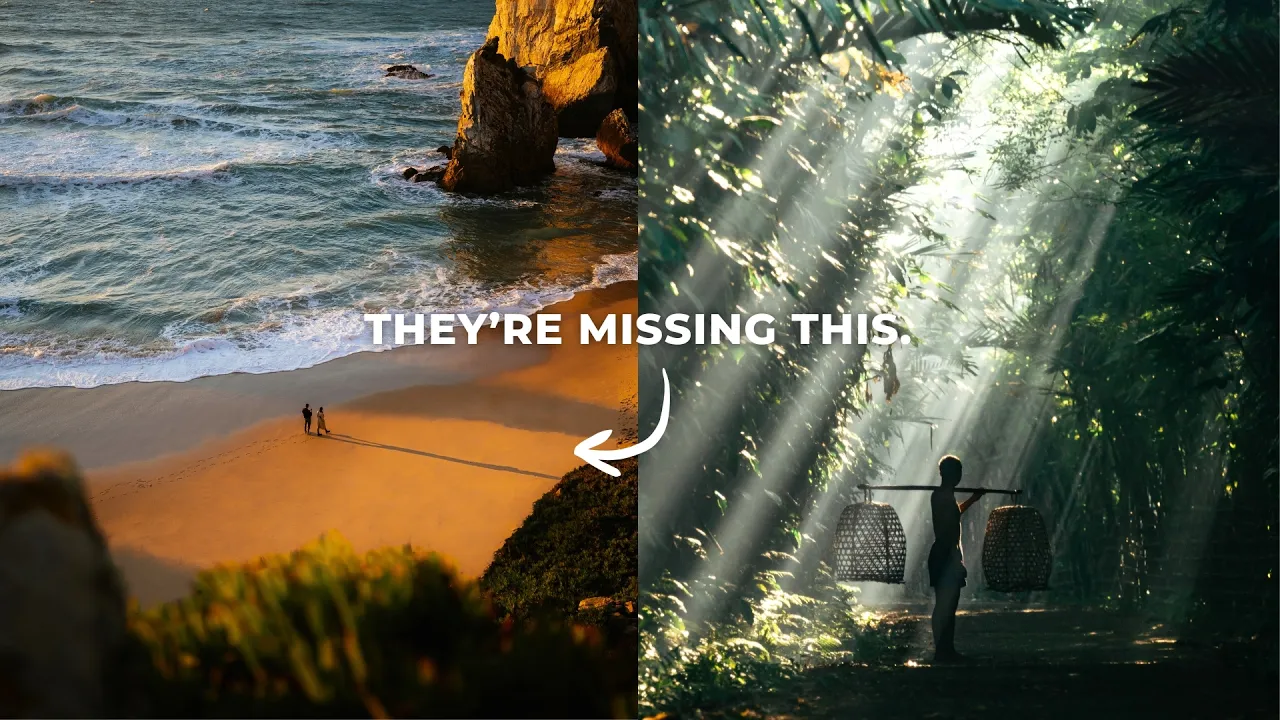
Why Most Photos Are Forgettable (6 Common Photography Mistakes)
Photography Basics
Some photos stick with you and most don't. Here are six extremely common mistakes that keep photos looking mediocre, and how to fix each one.
·
10 min read

Do you ever feel like your photos are just okay? Yes, you've shot some absolute heaters in the past, but a lot of what you shoot just feels kind of mediocre.
I think there are a few extremely common photography mistakes that keep a lot of images looking a little boring. In this post, I'm breaking down those mistakes and how you can fix them, using my own photos as examples. Let's go!
READ OR WATCH: This blog post is also available in video form! If you'd rather watch me explain this content, simply watch the video below. Otherwise you can find the text guide below. Just keep scrolling!
In Why Most Photos are Forgettable, I walk through each of these mistakes with examples from my portfolio.
1. Your subject isn't all that interesting
The subject matter is the foundation of your photo. It's what your photo is about. And if your subject isn't interesting, it's going to be hard to capture an interesting photo of it.
A lot of photographers hear this and think, "Okay, that means I need to capture something extravagant. Something rare or dramatic or beautiful." But that's not what I'm saying. Just because something's ordinary doesn't mean it can't be interesting. Some of the most interesting photos ever made are of incredibly ordinary things, but the subject still has some sort of extra quality that makes it worth looking at.
On the flip side, just because something is beautiful or dramatic doesn't mean it's interesting. One of the things I see a lot of photographers do is go to a destination that's known for being beautiful, take a photo, and think that translates into a beautiful photo. But being beautiful at face value doesn't make something an interesting subject.
Say you photograph something extremely ordinary, like a chair. Yes, it's just a chair. But maybe it's the texture, or the way it's positioned. There's some extra quality about it that makes it worth paying attention to.

So how do you know what makes an interesting subject? I think it all comes down to taste. Taste is what lets you notice interesting things as a photographer. It tells you what's worth photographing and what isn't, and it's the ability to recognize when a subject has real visual potential.
How do you improve your taste? Usually I'd say go out and shoot more and pay attention to what you're photographing. But here, I think one of the best things you can do is actually consume more work. I know people hate the word consumption, especially these days. But consuming genuinely good work, and paying attention to the subjects in those photos, is one of the best ways to pick up on what actually looks good and what looks interesting.
I'd recommend buying a book from your favorite photographer, sitting down with it, and asking yourself about each photo: why is this subject interesting? Is the photographer doing something to capture it in an interesting way, or is the subject inherently interesting and the photographer just had the eye to notice it?

If you can start with an interesting subject, before you even get into light, composition, color and detail, your image is already off to a great start.
2. You're ignoring everything around your subject
Building off subject selection, the second mistake is focusing too much on your subject and not paying attention to what's around it. This is an honest mistake that so many of us have made, myself included.
You have an interesting subject in front of you, and you know it's interesting this time. But you become so hyperfocused on the subject that you forget all the other important things about a photo: the light, the composition, the color, and of course using the setting around that subject to tell a much deeper story. The subject is important, but if you neglect everything else that makes a great photo great, your photo will likely be a bit mediocre.
So next time you're out shooting, zoom out a little from your subject and account for every detail in the scene:
Evaluate how the light is hitting your subject.
Look at the background and ask yourself whether it's supporting the story you're trying to tell, or detracting from it.
If it's detracting, see if you can fix it. Maybe that means moving yourself to change the background and enhance the photo as a whole.

This is one of the things I take the most pride in with my work. Yes, I like to capture interesting subjects, but I make sure I'm doing it in an environment that enhances the story of that subject. I pay very close attention to the light, color, composition and background, and to how everything plays together into one cohesive story that supports the main subject.

A good photo isn't just a good subject. It's a good subject inside a frame that supports it.
3. You're relying too much on lens effects
The next mistake goes hand in hand with the last one: relying too much on your lens effects. Whether that's a super shallow depth of field, the distortion from an ultra wide lens, or a super telephoto focal length that zooms in on your subject and ignores everything else in the composition.
I see a lot of beginners pick up their first professional lens, whether it's an ultra wide, a telephoto or a prime, and really lean into its effects, thinking it adds something to the image. But a lot of the time those effects are just distracting from the story of the photo, or they're being used to hide its mistakes: a poor composition, bad lighting, or a subject that's actually not that interesting.

Photo by Marco Muñoz on Unsplash.
If you're relying too much on the creative effects of your lenses, you might be neglecting what actually matters in a photo: the subject, the light, the composition, and how all of those come together into a story. Just like any other creative piece of gear, whether it's a Black Pro-Mist filter or a flash, lens effects are another tool in your tool belt. Use them intentionally, not all the time, and certainly not to hide the pitfalls in your images.
Honestly, I think that applies to gear in general. The best gear isn't the gear that does the creative work for you. It's the gear that removes friction from your workflow so you can focus on the work itself.
4. You're not keeping the energy in the frame
This one is about composition specifically. When you look at a photo, your eye naturally hunts around the image to find the main subject or vantage point it's going to lock onto. If something in the composition blocks your eye from moving around the frame or settling naturally on that point, your eye navigates outside the frame instead. And when that happens, the person looking at your photo loses interest.
There are a lot of things that can suck the energy out of your frame. The biggest one I see is horizontal lines that lead out of the image instead of back into it, pulling the eye away from your subject and out of the photo.

It also happens when your subject is looking into the short side of the frame. The eye naturally follows the person's gaze, so it exits the photo on that short side. If they're looking into the longer side of the frame, the eye has somewhere to actually go.

You'll get better at this the more you shoot. But when you're out shooting, think about two concepts: flow and energy. When someone looks at this composition, where is their eye going to flow, and where is it going to settle? You want to keep that energy inside the frame instead of letting it escape. I go much deeper on this in give me 15 minutes and I'll improve your composition.
5. Your composition is too busy
Continuing with composition, another mistake is a composition that's a little too busy, where the main subject isn't clear. A lot of photographers want to pack as much as they can into a composition. Sometimes that works, but a lot of the time, too many subjects start fighting for attention, and the eye doesn't know where to look, what to settle on, or what the photo is even about.
This really becomes a problem when all of those elements hold the same visual weight. One of the things you'll see in a lot of great photos is a visual hierarchy. The first thing you notice is the primary subject, and then your eye naturally moves around the frame to a secondary subject, or sometimes a third. Those are supporting characters behind the main subject.
Secondary subjects are incredibly important. They can enhance the story and add a ton of visual interest, and I use them in a lot of my images because they just make the images better. But there needs to be a clear hierarchy so it's obvious what the photo is about.

Use depth. Probably the easiest way to create a visual hierarchy is to introduce depth. Not only does depth look cool, but if your main subject is in the foreground or midground and the supporting characters are in the background, you automatically create a hierarchy. The person looking at your photo will know exactly where to look and what's most important.
Use negative space. Negative space is empty space in your frame that simplifies the scene and expresses that hierarchy more effectively. It could be the sky, part of your frame in deep black shadows, a blank wall or a beach. It can really be anything.

Before you take your photo, look at your scene and ask yourself: is my subject obvious? Is anything in this composition competing with it? And if something is, can I reposition myself, or my subject, to create a visual hierarchy and keep the focus on the main subject? This is something I've been thinking about a lot recently while looking back at my images, and I think it's an incredibly important skill to learn. You'll start to notice it in the work of a lot of your favorite photographers too.
6. Your edit is fighting the photo
Last but certainly not least is editing your photos in a way that either doesn't match the photo, or detracts from its story. Believe it or not, bad editing can make a photo a lot worse. I see this all the time, and I was super guilty of it in the beginning too.
When a lot of us first start editing, we get really excited about everything we can do. We can stylize photos in creative ways, add a bunch of unique colors, and make them look pretty cool. But the main point of editing is to enhance the photo and the story of that image. If we take it too far, we do the opposite.
The way I think this shows up the most is forcing an edit in a direction it doesn't want to go, instead of guiding it in the direction it probably should go. When you force a style onto a photo, things fall apart incredibly quickly. The colors get unnatural, the tones look a little funky, and skin tones can look weird. When you guide an edit in the direction that actually suits the photo and brings out its story or feeling, you end up with a much more cohesive story and ultimately a more interesting photograph.

So when you sit down to edit, instead of starting with a bunch of random, crazy adjustments, ask yourself:
How do I remember this scene when I shot it?
What was the vibe, the feeling or the story that scene was giving off?
What adjustments can I make to enhance that story?
Then keep that in the back of your mind with every adjustment you make. That's exactly how I think presets should work as well. A preset shouldn't be something you slap on a photo to force a style where it doesn't belong. It should set the foundation of the edit and give you a really good starting point to build on, so you can keep guiding the photo in the direction it wants to go. (If you want to get better at this, here's the trick to perfect color grades in Lightroom.)
So, why are most photos forgettable?
Those are some of the most common photography mistakes I see keeping images looking a little mediocre, and a lot of them are mistakes I made with my own photography too. It's okay to make mistakes. It's actually part of the learning process. But you do need to become aware of them so you can fix them.
If you think I missed anything crucial, let me know in the comments on the video. I'm sure I missed something! And if you want to keep going, check out my post on how to shoot in harsh midday light.
Best of luck and happy shooting!
Do you vibe with my style? Most of the photos in this post were edited with my Film Vibes Preset Pack, the same presets I use to edit pretty much all of my images. Check out the Film Vibes Preset Pack

Get the look in one click
Film Vibes Preset Pack
30 film-style presets that give your photos a timeless touch, inspired by famous film stocks.
$34
30 presets · For Lightroom
Sean Dalton
Made with ☕ and a camera.