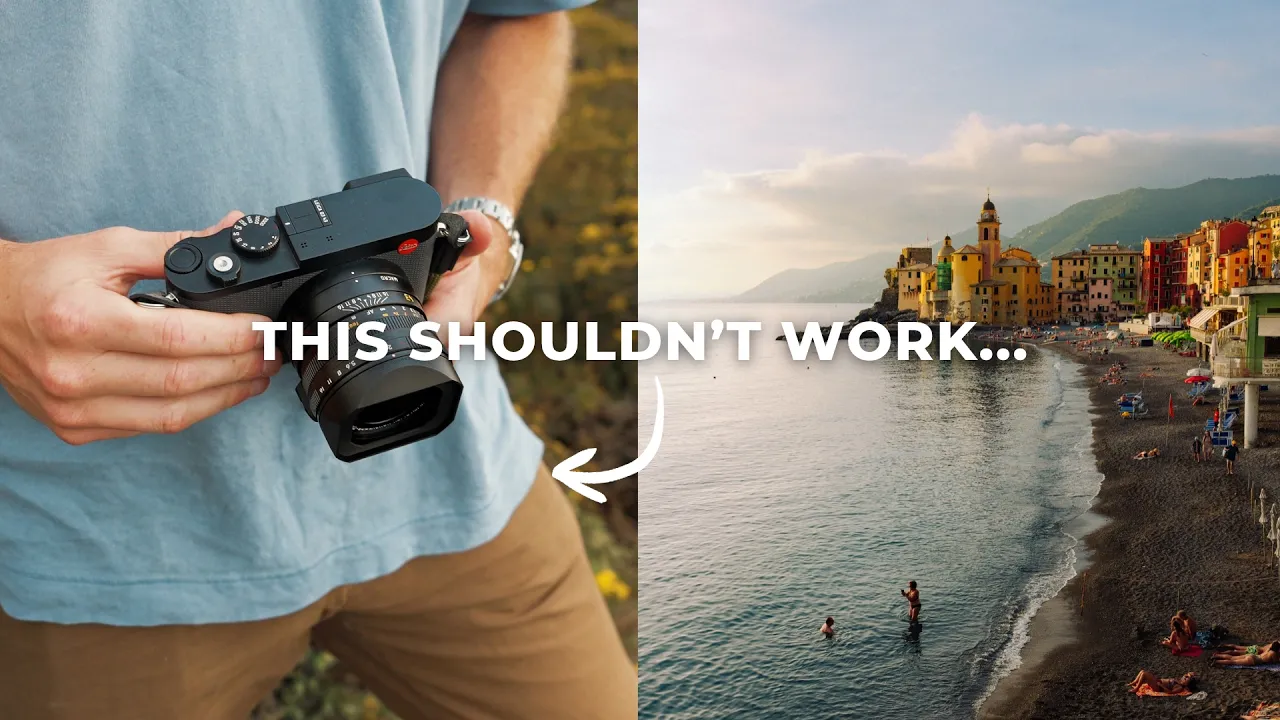
9 Travel Photography Hacks From 10 Years of Traveling With a Camera
Travel
After 10 years of traveling with a camera, these are the practical hacks I actually use to get more out of one lens, find great spots, fly with my gear and come home with better photos.
·
12 min read

Traveling is one of the most rewarding experiences we can have as photographers, but it can also be a little bit stressful. You're constantly moving around, carrying a ton of heavy gear, trying to find new places to shoot, and dealing with a bunch of other variables you can't always control.
I just got back from an incredible five-month photography trip to Europe, and while I was there, I wrote down some of the travel photography hacks and tricks I've picked up over the last 10 years of photography. These are genuinely practical ones that will save you time, help you get more out of the gear you already have, and ultimately help you come home from your trips with much better images. Let's go!
READ OR WATCH: This blog post is also available in video form! If you'd rather watch me explain this content, simply watch the video below. Otherwise you can find the text guide below. Just keep scrolling!
In I've Traveled With a Camera for 10 Years. Here's What Works., I walk through every one of these hacks with photos from my latest trip to Europe.
1. Use panorama merge to shoot wider than your widest lens
The first one has to do with lenses, specifically finding yourself in a scenario where you don't have a lens that's wide enough to capture what's in front of you. I found myself in this situation a lot over the last few years, because I only travel with a 24-70mm and a 35mm prime (here's all of my travel photography gear). 24mm is wide, but sometimes it's not quite wide enough to capture the scene in front of me.
So one of the tricks I've started using more and more is the panorama stitch feature in Lightroom, to capture a wider-angle photo even though I don't actually have a super wide-angle lens. This is one of my favorite images from my last trip to Italy. I love it, but I didn't have a lens wider than 24mm, and when I shot it at 24mm, it was just a little too tight. Not enough negative space for my liking.

Left: a single frame at 24mm. Right: the panorama I stitched in Lightroom.
Here's how to do it:
Shoot a series of photos from top to bottom in landscape orientation, starting each new frame at the bottom of the last one.
Open the images up in Lightroom and select all of them.
Right-click and choose Photo Merge > Panorama.
Play around with the settings, then hit Merge.

It creates a nice wide-angle shot that honestly looks fantastic. This is one of those Lightroom features that I think a lot of us know about, but we don't take full advantage of. It's insanely powerful, because now I don't have to go on my trips carrying a 16-35mm and my 24-70mm. If the situation calls for a super wide-angle photo, I can simply stitch one. (Adobe has a full rundown of the panorama merge settings if you want to dig into projections and Boundary Warp.)
2. Crop in and use Super Resolution to fake a telephoto lens
Okay, but what about the opposite scenario? You're trying to capture a subject that's really far away, and you don't have a zoom lens with you. You can simply crop into the image to mimic that telephoto look, then use two more features in Lightroom to bring some of the detail back: Super Resolution and Raw Details. It's actually insane how much detail these bring back into the image.
For example, I shot this photo in Italy at 70mm and cropped it all the way in to something like 230mm. That's an absolutely insane crop. Honestly, the cropped image looked fine on its own, but next to the same image upscaled with Super Resolution and Raw Details, there's so much more detail (the crop went from about 2,000 pixels wide to almost 4,000). If I posted this online, I can almost guarantee you nobody would suspect I cropped it as far as I actually did.

Shot at 70mm, cropped to roughly 230mm, then upscaled with Super Resolution.

A close-up of the same crop. Left: no upscaling. Right: upscaled.
You'll find both in the Detail panel in Lightroom Classic, and Super Resolution doubles the width and height of your image, which is exactly what a heavy crop needs (here's Adobe's guide to the Enhance tools).
Now, is it going to be as clean as a photo you actually shot with a telephoto lens? No, probably not. But it's close enough. One of the things I've stopped caring about more and more as I've grown as a photographer is image quality. As long as you're hitting that base level, the lighting, the composition, the subject matter and the story matter so much more than how sharp or how detailed the image is.
So if you're going on a trip with only one zoom lens, something like a 24-70mm, and you're using the panorama stitch and Super Resolution features, you're actually bringing a lens with a range from something like 16mm all the way up to 200 or 250mm.
3. Find photo spots near you with Locationscout
The next trick on this list is actually an app, and I've been using it for the last few years to find new locations in the places I'm traveling to. It's called Locationscout, and it's basically a giant database of amazing photography locations all around the world. Every location has a ton of useful information for photographers: tips on how to photograph the place, travel information, upcoming weather, and you can even navigate to it directly from the app.
That navigation feature is incredibly useful with one of my favorite features in the app, Around Me, which shows you a bunch of photography locations near where you are. When I pull it up here in Bali, there are a ton of amazing places to shoot. I can refine the search even more, too. If I want to shoot a waterfall, I go to Themes, type in waterfall, and see all the different waterfalls nearby.

So if you're traveling somewhere new and don't know where to shoot, just pull up Around Me. It's also really easy to add your own spots. I've added a few of my favorite photography spots here in Bali, so if you look me up on the app, you can see those.
Quick disclaimer: Locationscout sponsored the video this post is based on, but this post isn't sponsored. I'm including it here because it's one of the best resources out there for travel photography, and I genuinely use it on my trips. You can check it out at locationscout.net.
4. Use the squint test to simplify your composition
Another little trick I've been doing over the last few years is what I like to call the squint test. When I'm lining up a shot and trying to organize everything in the scene to look good in a photo, I squint my eyes down as far as I can, to the point where everything goes out of focus. Then I compose the shot.
I do this because it breaks the scene down into its most fundamental building blocks. When you unfocus your eyes, you can really only see shape, light and color, and those are often the most important factors in an image. If you get too distracted by all the little details, that can actually result in a less compelling photo.

Blur out the details and you're left with the shapes, the light and the color.
I think this is especially relevant for travel photography. When you're traveling somewhere new, there are so many interesting things to look at that you've never seen before, and it's easy to get caught up in the details. Unfocusing your eyes lets you take a step back and notice the foundational building blocks that actually make a great photo. (If you want more on this, here's how I'd improve your composition in 15 minutes.)

A photo that's really just shape and light.
5. Set a custom button for minimum shutter speed
On this most recent trip to Europe, I bound one of the custom buttons on the back of my camera (C3 on my Sony A1 II) to adjust the minimum shutter speed when I'm shooting in aperture priority. If you've watched any of my videos, you know I love shooting in aperture priority. About 90% of the time, that's what I'm in. But I also like to make sure I still have a little control over the shutter speed in my images.

With that custom button, I can easily select a different minimum shutter speed while I'm out shooting. If things are moving quickly and I want to freeze the motion, I set it to something like 1/1000th or 1/500th of a second. If I'm in a low-light scenario and I know I need the extra light, I set it to 1/60th or even 1/30th of a second.
Otherwise, you have to go through your camera menu to change it, and having a custom button makes it so much simpler. I'd highly recommend trying it out.
6. Use a baggage extraction system when you fly
This next trick has to do with airline travel, and I've always gotten really stressed traveling with my gear, because all of that expensive stuff simply cannot go under the plane. You always want to carry on all of your gear when you're flying. But on some of the budget carriers in Europe and Asia, there's a max carry-on limit of 7kg. Once you put in your laptop, your camera, your lenses, your batteries and everything else you need as a photographer, that bag can very quickly go over 7kg.
So after years and years of testing, I've developed something called the baggage extraction system, and it's very simple. Always have a smaller bag, or a smaller compartment, inside your larger bag that holds all of your batteries, cameras and lenses. If the gate agent tells you that you need to check your bag, you pull that out and let them check the larger bag.

On this most recent trip to Europe, I carried on my Victorinox carry-on, and inside it I put my Shimoda Urban Explore backpack, which has everything I need for my travel photography: all my cameras, lenses, batteries and audio equipment. If they asked me to check the Victorinox bag, I'd say, "Okay, no problem," pull the backpack out and be on my way. It saves you a massive headache. (I go deeper on this in the carry-on system I use for flying with camera gear.)
7. Build smart previews so you can edit without your hard drive
This next trick is also related to travel, but it's about editing too. When I'm flying on an airplane or sitting on a train, I love to pull out my laptop and look at some of the images I've shot on that trip. But one thing that's always annoyed me is having to plug in my external hard drive just to look at those images.

So a few years ago, I started generating smart previews every time I import my images off my SD card and onto my hard drive. Smart previews in Lightroom are amazing because they allow you to edit your images without the hard drive plugged in. When you want to export, you simply plug in your hard drive, Lightroom connects back to the original photo, and you export the full-resolution file from there. To turn them on, tick Build Smart Previews in the File Handling panel when you import.

And in a worst-case scenario where something happens to the images on your hard drive or your card, you can use smart previews as a last-ditch backup. I've had photos get corrupted before when I only had the smart previews. Yes, they won't look as good as the full-resolution originals, but they totally work for sharing images online, and it's better than nothing. So always generate smart previews. I cannot recommend this enough.
8. Book a hotel where you want to shoot
Another thing that's helped me capture better photos is booking a hotel where I want to be shooting. Out of all the factors you have to weigh when you're booking a hotel, if you're traveling for photography, I cannot hammer in enough how important it is to actually stay where you're going to be shooting. It removes so many barriers to capturing great photos in that place.
When you're staying in a neighborhood that actually inspires you, instead of having to take a train across the city to photograph it, you can simply walk outside your door and capture photos right then and there.

This is especially useful if you're going to be shooting sunrise. I've found that if I'm not staying where I want to shoot sunrise, I probably won't go out and shoot it, because I don't want to wake up and travel across the city to capture a photo. I want to wake up, walk outside, start shooting right away, and then maybe go home and take a nap. So when you're weighing all the different options for your hotel, I think location should be at the top of the list.
9. Walk everywhere you can
Last but certainly not least, and probably my favorite tip on the list because I think it's had the biggest impact on my travel photography: walk. When you're traveling, there are going to be situations where you need to get from point A to point B. You could take public transportation, hop in a taxi, jump on a bike, or walk. I almost always walk, because there are so many potential hidden gems between those two locations.

I can't tell you how many times I've stumbled upon something on my travels that I didn't know existed, because I decided to go on a little walk, get a little bit lost, and look for interesting things to photograph. A really easy trap we fall into when we're traveling is trying to tick off all the highlights at a destination. But often, some of the best moments in those places are the in-between moments you didn't even know existed.
When you slow down, walk around and engage all of your senses, you start to notice some really interesting things about a place. And that's often where you capture your best photos.

A couple of in-between moments from my trip to Italy.
So, what's your best travel photography hack?
These are just some of the tricks I used on this most recent trip to Europe, as well as over the last few years. There are so many things I could have included, but I wanted to focus on practical tips I actually use instead of a bunch of random travel photography tips that might sound good but aren't practical.
I know this list isn't exhaustive, so I want to hear from you. If you have a travel photography hack I didn't mention, drop it in the comments on the video. Honestly, I learn just as much from the comment sections of my videos as I do from watching other photography creators. And if you want more, here are my travel photography tips to stop shooting like a tourist.
Happy travels and happy shooting!
Do you vibe with my style? Most of the photos in my video were edited with my Film Vibes Preset Pack, the same presets I use to edit pretty much all of my images. Check out the Film Vibes Preset Pack
Sean Dalton
Made with ☕ and a camera.