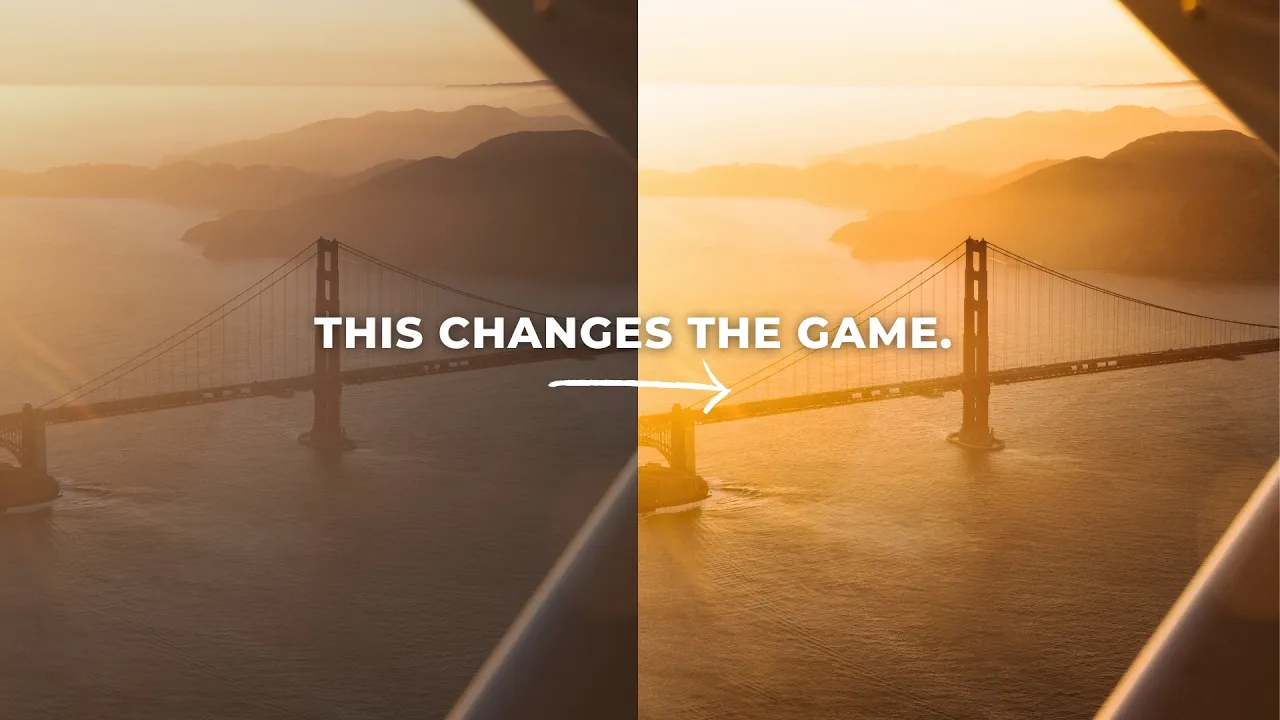
The Finishing Touches Your Photos Are Missing (Mastering Edits in Luminar Neo)
Lightroom
Your photos might not stand out because they're not quite finished. Here's the mastering phase of my edit, using three tools in Luminar Neo.
·
9 min read

What if I told you the reason your photos don't stand out is that they're not quite finished? You spent all this time dialing in the colors and getting the exposure to the perfect level, but there's still something missing. It needs a little extra pixie dust sprinkled on top to really bring it to life.
That's probably because you're skipping the last phase of the editing process, which I like to call the mastering phase. This is where we bring everything together and put the last few finishing touches on an image before exporting and uploading it. In this post, I'm showing you the three tools I've been using for Luminar Neo editing to master my images and take them to the next level. Let's go!
Quick disclaimer: Skylum, the company behind Luminar Neo, sponsored the video this post is based on. All opinions are my own.
READ OR WATCH: This blog post is also available in video form! If you'd rather watch me explain this content, simply watch the video below. Otherwise you can find the text guide below. Just keep scrolling!
In Photo editing just got A LOT easier, I master four of my photos in Luminar Neo step by step.
What is the mastering phase of editing?
The mastering phase is the final step of editing, after you've already dialed in your exposure and colors. It's where you add the finishing touches that bring the whole image together: shaping light, adding atmosphere, and giving the photo that extra edge before you export it. A lot of photographers skip it and call the photo done too early.

How I use Luminar Neo with Lightroom
You can edit a photo from scratch in Luminar, or you can edit it in Lightroom first and then send it to Luminar for the finishing touches. That's typically how I use it, because I like to edit with my presets and I'm very used to Lightroom.
To do that, right-click the photo in Lightroom, go to Edit In and select Luminar Neo. Choose to edit a copy with Lightroom adjustments, and the photo opens in Luminar, ready to go.

1. Light Depth: add light exactly where you want it
This first photo was shot in Japan, and it's one of my favorites from the trip. I love that the subject is looking into the camera, and there's a beautiful leading line running into the background. I'd already edited it to a point where, in the past, I'd have called it done, exported it and posted it. But after playing around in Luminar, I realized it wasn't finished.
The tool I want to focus on first is Light Depth. It looks at all the depth values in your scene and adds light into a specific depth range of the photo. Drag the range forward and backward and you can see it bringing light into different parts of the image. I used it to light my main subject in the front. At 85 it's way too strong, so I brought it down to around 28. It's so accurate that it still keeps the shadows in the photo, which I think is super cool.
A few more controls worth knowing:
The range arrow lets you narrow the effect so it stays focused on one subject.
Softness blurs the effect so it isn't as hard. (I actually liked it harder on this photo.)
Warmth warms up the light you're adding.
Advanced settings let you control the brightness and warmth in front of and behind the effect. Darkening the foreground and background a little helps the effect stand out.

Here's another example: a photo I shot on Mount Tamalpais, just outside San Francisco. Such an incredible location, with the clouds and the light rays coming in over the forest. I'd already edited it, but it still looked a little flat. I pushed Light Depth to 75, then narrowed the range so it only focused on the ridgeline and the cars at the bottom, and added warmth to exaggerate the sunset light.
What I love most about this tool is that it's not only adding light into a specific depth range, it's also darkening the other parts of the image. So it increases contrast across the whole photo and really highlights the part you want to draw attention to. Turn the effect off and on, and you can see the whole image come together with just this one change.
2. Twilight Enhancer: turn any light into twilight
The second tool is the Twilight Enhancer, and it's absolutely insane. I've been playing with it a bit, and I'm wildly impressed.
Back on the Japan photo, I chose the Mauve preset and set the amount to 70 so you could see what it does. It transforms the image into a sunrise or twilight photo, which looks super cool. That's a little strong, so I brought it down to around 30. There's also an exposure adjustment to bring life back into areas the effect darkened, but I left it, because I like the soft, darker sky.

Left: my finished Lightroom edit. Right: after the finishing touches in Luminar.
It was making my subject a little too dark, though. Under Scene, there's a slider called Relight Human, which detects the people in your scene and adds a bit more light back onto them. I also played with Shade; reducing it brightens the image a little.

There's a lot of talk about AI right now. But this isn't generative AI, where you create an image from scratch. We're using it as a tool to enhance our edits, and I think there's absolutely nothing wrong with that. It's the application of AI that I think is relevant and appropriate for photographers.
It works for golden light too. On the Mount Tam photo, I used the Golden preset instead, which suits sunset scenes. At 70 it was way too strong, so I dropped it to around 24, and the color depth really came through. It darkened the image a little, so I raised the exposure. And if you don't want the effect on the whole image, go to Masking, select a linear gradient, and drag it over just the part you want it to affect. I kept it off the top of the sky and only applied it to the bottom of the photo.
And it saves bad light. This photo was shot near Mount Fuji, and it's such a cool image, but it was a cloudy day. If you know my style, I like dramatic light, with color in all the tonal ranges, especially the highlights and shadows. That's hard with an overcast photo like this. I'd already edited it, and it looked pretty good, but it was missing that extra oomph.

I applied the Twilight Enhancer with the Mauve preset at 70, and right off the bat it took the image from an okay, interesting photo to something much more powerful. I brought it down to about 35. It made the train (my main subject) and the foreground a little too dark, so I went back to Light Depth, dragged it over the train, narrowed the range, and lowered the amount.
These two tools work really well together. When the Twilight Enhancer makes your image a little too dark, Light Depth adds light back into your subject, and it looks much more realistic than using masks to dodge and burn, because it's working with the actual depth in your photo. That's something Lightroom just can't do right now.
3. Mystical: get the Black Pro-Mist look without the filter
The third tool is called Mystical, and if you've ever used a Black Pro-Mist filter, you're going to love it. If you haven't, a Black Pro-Mist filter adds a subtle glow to the highlights in your image. It looks really good at night and in moody scenes, and it gives your photos a dreamy, vibey look. I like to shoot with one on my Fuji, because those photos are a little less serious.
The problem with those filters is that they're destructive. Every photo you shoot has the effect, whether you like it or not, and that started to bother me, because in a lot of scenarios you don't want it. The Mystical tool gives you that look without putting a filter on your camera.
Here's a photo I shot in Madeira, Portugal. At 100, the effect looks terrible, but it shows what it's doing: adding glow into the highlights, and adding contrast and saturation into the darker areas. I dragged it down to around 30, then used the Colorize options to add a little warmth (around +30) to bring some color back into the grass.

Left: before. Right: with the Mystical tool applied.
It's really subtle, but in images like this, that's often what you want. Just a little extra edge, some pixie dust sprinkled on top to get the mood across.
Where this effect really shines, though, is in photos shot at night. This is a photo I shot at night in Tokyo. I already loved the edit, and there wasn't much I'd change except making it a little more mystical. I brought the effect to about 40, which adds a lot of contrast and glow into the highlights. Then I added some warmth in Colorize, which adds warmth into those highlighted areas and really enhances the color depth.

A quick hack for more color depth: play around with the temperature in different parts of your image, like we did here with the Mystical effect. Warm highlights against cooler shadows add a lot of depth.
A few more Luminar Neo tools I like
There are so many more tools I want to try, but a few others I really like:
Mood, which lets you add a lot on top of your image. Often I've found these look better than actual presets. My favorite is the built-in Santa Barbara preset, which works on so many different types of images and gives you a really good starting point.
Color Harmony, which makes it easy to make some pretty drastic color changes. It's just really fun to play with.
Luminar Mobile. I've been editing a lot on my phone, because you can now pass edits from your phone to your desktop. With my Fuji photos, I like to transfer them to my phone and start the edit there instead of importing them on my computer. Everything I do on mobile shows up on my desktop, and all the adjustments carry over, so I can switch to the desktop for more serious editing.

So, are your photos actually finished?
These are genuinely tools I'll be using in my work, both professionally and personally, because they're incredibly powerful and they do things Lightroom simply can't do right now. Maybe one day it will, but right now Luminar is absolutely killing it with these features.
I'd recommend uploading some images you've already edited and playing with these mastering tools, because they can take an image you thought was good to the next level. And if you want to get your base edits right first, check out how to edit photos in Lightroom with intention.
Happy editing!
Want to learn my full editing process? My Lightroom Masterclass has over five hours of super detailed editing lessons, breaking down not only how to use every single slider in Lightroom, but why you'd make each adjustment to your photos.


Sean Dalton
Made with ☕ and a camera.